Basic trekking essentials : what do you need for a self-sufficient trek?
Hiking in remote areas calls for special organization. When it’s not possible to stock up on supplies and sleep rough, only a self-guided trek is an option.
Depending on the destination, the equipment required for a self-guided trek differs. A trek in a warm country poses different problems to one in the cold and/or snow. In this post, you’ll find the terms “cold region” and “warm region” to help you make the right choice and find your basic trekking essentials.
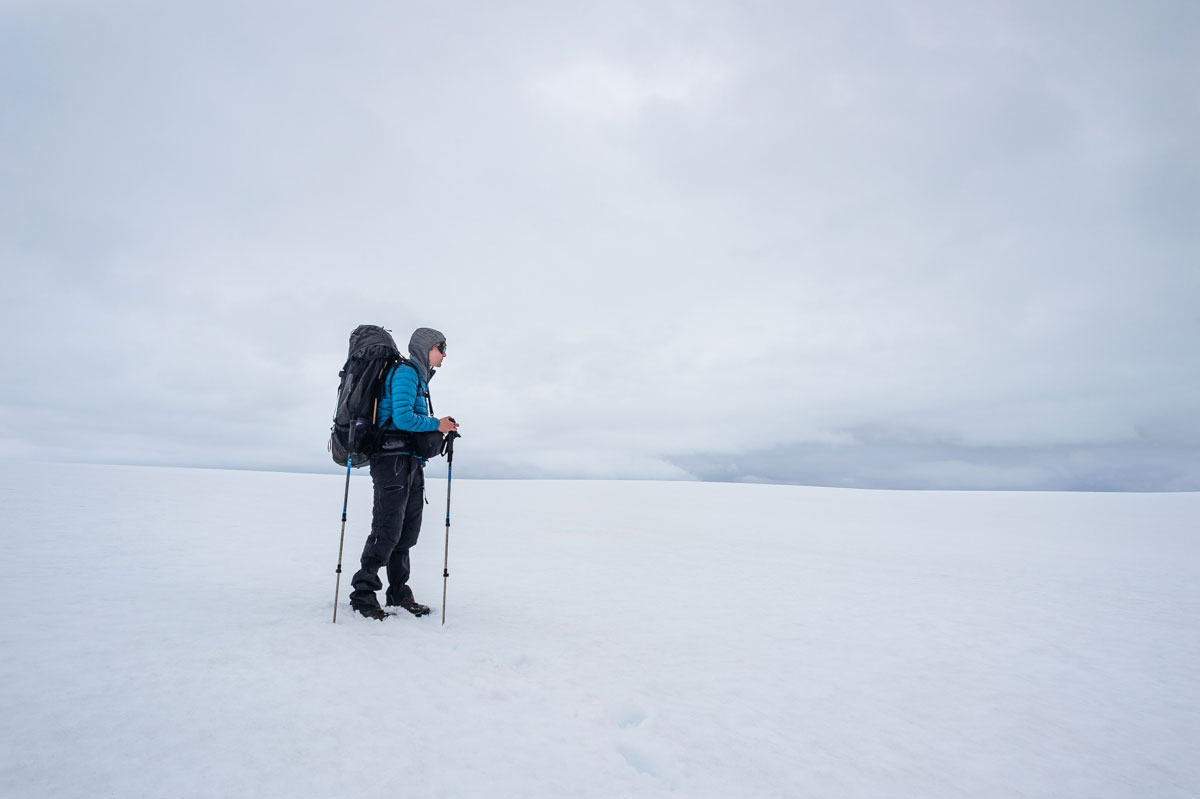
As a wildlife and nature photographer, I’ve had to travel through wilderness areas where humans are completely absent. I had no choice but to equip myself to make myself completely autonomous. While the idea may seem complicated and even stressful for some, it’s exciting once you’ve mastered the subject. Autonomy is the gateway to adventure!
The advantages of self-sufficient hiking
As the name suggests, trekking on your own makes you completely independent of civilization. All you need is your body and your basic trekking essentials! You’ll have your own house on your back, and can decide on your program from day to day. You can improvise, change your mind, take advantage of an unforeseen event… in short, you’re free in your choices and don’t need to arrive before closing time at a store or hostel. That’s the main advantage of self-sufficient hiking.
Another plus point: safety! Having your home in your rucksack means being able to deal with any unforeseen situation.
I’ve often had to improvise a camp to shelter from a storm, or change my program to stay in a sheltered valley. This luxury is only possible if you have all your gear. Otherwise, you’re obliged to reach a point B (refuge, B&B…), even if it means taking risks.
As I said earlier, self-sufficient trekking is a gateway to adventure and freedom! You go at your own pace, change your plans as you meet new people and discover new things, decide from day to day, and replace your watch with the path of the sun. In conclusion, travelling with your basic trekking essentials will give you unique experiences and emotions.
Basic trekking essentials
In this post, the equipment presented is based on my own experience, my basic trekking essentials, but you’ll have to make up your own. Everyone is unique and so are our needs. So keep in mind that, eventually, you’ll need to have your own list of equipment for an self-sufficient trek.
Basic trekking essentials : The best trekking backpack?

This is the first piece of equipment you’re going to have to choose, and let’s face it, it’s VERY personal! Your trekking backpack is your friend, your companion, your home! You need to trust it, and it needs to be perfectly adapted to your morphology and needs.
Depending on the length of your treks, your choice of bag will be completely different. Firstly, it’s a question of volume (for example, for a 12-day trek, the weight of dry food is a minimum of 6 kg) and secondly, it’s a question of physical wear and tear (the longer your trek, the more important the little details will be).
Finally, there’s the question of budget. A Decathlon backpack will cost much less than a top brand like Fjällräven. The decision to invest more or less is yours. But if you’re going to be trekking every year, or even several times a year, then investing in good equipment won’t be a luxury, especially since in the long run, better quality equipment will cost you – and the planet – less.
The two trekking backpacks I see most frequently among experienced hikers are :
- Kajka 100 by Fjällräven: the price of this hiking bag is very high, but its reputation is well established. And the quality of its construction is also top-notch. This is the kind of bag that can last a lifetime. This volume (100L) is suitable for treks lasting from 7 to 20 days. There are smaller versions like the Kajka 65 for 3-4 day treks.
- AETHER™ PLUS 100 from Osprey: I can tell you a little more about this model, it’s the one I’ve used the most, and I continue to use it on 12-day treks (for the record, I’m a hiking guide in Iceland). It’s as impressive as the Fjällräven in terms of construction and sturdiness, but a little less practical. The adjustment system is very practical and adapts perfectly to different body shapes. On the downside, the zippers are large and not as easy to handle as those on the Kajka 100.
- The MT900 from Decathlon can also be used for autonomous trekking. Unfortunately, Decathlon has decided that men’s and women’s versions of the same model should not have the same capacity:
– The men’s MT900 SYMBIUM is 70L+10L
– The women’s MT900 SYMBIUM is 50L+10L
As a guide, I can tell you that women and men have the same trekking needs, and similar or even superior endurance performance in the case of women. So why this difference in treatment for a product that’s supposed to adapt to morphology, not to beliefs from another century? (Yes, I’m angry!)
Other brands such as Deuter and Millet offer excellent large-volume hiking backpacks. It’s up to you to find your ideal companion.

Clothing for a self-sufficient trek
As with the choice of backpack, the choice of clothing for a multi-day trek is a personal matter. Your body is unique, and only you know it. So I’m going to focus my advice on the main principles of trekking clothing and not on the details.
For the upper body
-
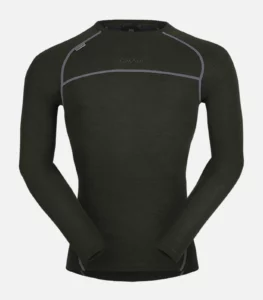
Cimalp merino whool shirt
Long-sleeved merino shirt (cold regions): merino wool offers many advantages. Sweat odors are much less significant than with fleece, for example. What’s more, a merino undershirt continues to insulate you from the cold even when you’re soaking wet.
- Merino tee-shirts (warm region): as with the undershirt, the merino tee-shirt will limit perspiration odors, an important point on a hike where it’s not possible to wash every day.
- The fleece layer (cold regions): a thick fleece jacket, in addition to the merino undershirt, will complete the inner layers and keep you warm, especially in the evening, when the sun disappears and the cold sets in. You can, however, remove this fleece layer when you’re walking.
- The waterproof layer: whether you’re planning a trek in a cold or hot region, a raincoat is an essential piece of clothing in rainy climates. On an autonomous trek, you need to stay dry in all circumstances (except for jungle treks, where humidity levels make this impossible).
I can’t recommend any particular model of waterproof jacket, given the wide variety of needs and situations. But I can tell you that the colder the region, the more important waterproof jackets are. For example, don’t plan a trek in Scotland with a €20 jacket.
For the legs
- Silk or fleece leggings (colder regions): silk leggings are more comfortable and less restrictive. You can wear them when you’re not moving, and to sleep in very cold weather.
- Hiking pants: as with your backpack, I recommend investing in a good pair of hiking pants. Fjällräven offers models for both cold and temperate climates. The construction of their hiking garments is robust. With average use, they’ll last a lifetime.
Rain pants: as with the waterproof jacket, this is an accessory not to be overlooked. Rain pants will keep you dry, even after a day’s walking in the rain.
For feet
-
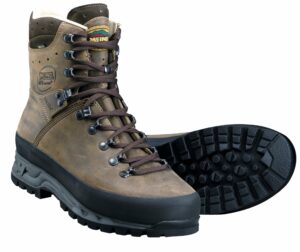
Meindl Island MFS Active trekking boots
Socks: merino (cold regions) or synthetic (warm regions): the choice of socks is very important. On the one hand, good hiking socks will limit the appearance of blisters, and on the other, merino wool socks can be used at night in cold regions, for greater comfort.
- Boots: certainly your most important piece of equipment. Depending on the terrain, you’ll need to choose appropriate hiking boots. For a mountain or tundra trek, you should choose between categories B and BC. I strongly recommend the latter, as the ankles are better supported (with shanks) and the sole is stiffer, for traversing scree. Personally, I’ve been using Mendl Island boots for several years now, and can’t recommend them highly enough!
For hands, neck and head (cold region)
- Silk under-gloves: practical as an under-layer when it’s very cold, or on their own for milder temperatures, silk gloves can also be worn to sleep more comfortably.
- Warm gloves: ideally made from fleece or merino wool (or even feathers if the temperature is below -10°), these gloves should keep your hands warm in all conditions.
- Waterproof gloves: when the temperature’s near 0° and it’s raining, then only a pair of waterproof gloves, even thin ones, will do. Verjati offers a great model that combines warmth and waterproofing.
Sleeping equipment for a self-sufficient trek
Trekking tent
The lifeblood of trekking, the tent is potentially your only shelter. But you’ll have to carry it, every day.
Choosing a trekking tent is a tricky operation if you’re not yet used to trekking on your own. Here are the 5 most important criteria for me:
- Waterproofing: you need a tent that can withstand several days of rain. The interior must remain dry at all times.
- Breathability: to limit condensation, you need a tent that breathes. There’s nothing worse than a tent that lacks air and ends up leaking inside.
- Comfort: you need to be able to sit down, turn around, dress yourself, cook, pee in a bottle (we’ll talk about this when you really want to, and the storm is raging outside) – in short, your trekking tent needs to be comfortable.
- Weight: a criterion not to be overlooked, today’s tents are lightweight. I’ve used Decathlon’s Ultralight 2-seater a lot, but there are much more technical tents out there, which are naturally more expensive.
- Drying time: the last point to consider when choosing your tent. The faster it dries, the less likely you are to end up with a soaked interior.

The sleeping bag
For a self-sufficient trek in good conditions, the quality of your sleep is essential. If your trek is a physical one, you need to be able to rest your muscles and recuperate during the night. The choice of a sleeping bag must be taken seriously and adapted to the region you’ll be visiting.
There are several types of sleeping bag, the main ones being synthetic sleeping bag and down sleeping bag.
The advantage of synthetic sleeping bags is that they retain their insulating power even when soaked, which is not the case for down sleeping bags. On the other hand, they are heavier and bulkier than down sleeping bags at the same temperature.
Down sleeping bags are highly insulating, with little bulk and weight. The downside is that they must be kept dry. Using a waterproof bag to protect them during the day works very well. In 2023, I managed to keep a down bag dry during a 12-day trek in Iceland with only half a day without rain or snow. So I can assure you that it’s possible with a waterproof bag, even in the worst conditions.
For temperatures from -10° to 10°, I recommend the famous Valandre La Fayette. The reputation of this sleeping bag is well established. It weighs 1Kg for a volume of 5.5L in size M and a comfort limit of -15°. Incredible performance for a sleeping bag ideal for long treks in the mountains or cold regions.
The mattress
For sleeping, you can opt for an inflatable mattress or a floor mat. But I’m more of the inflatable mattress team, so I’m going to point you in that direction.
I have two mattresses in my basic trekking essentials, that I use depending on the situation.
When I trek in temperate conditions, I use a simple Decathlon MT500 air mattress.
For treks in cold regions, particularly in Iceland or Sweden, I use a Thermarest NeoAir XTherm. I regularly sleep with the latter on a glacier, and I absolutely do not feel the cold rising. Its insulating power is quite incredible.
Other sleeping accessories
- The pillow: Personally, I use my dry bag as a pillow. You can improvise a pillow with any bag (tent bag …) by filling it with clothes. But you can also opt for the comfort of an inflatable pillow.
- Sleeping Bag Liners (cold region): It does not weigh much and does not take up space. If you are in doubt about your sleeping bag, you can bring an additional safety sleeping Bag Liners.
Cooking essentiels for an self-sufficient trek

Basic trekking essentials : Hiking cooking equipment
To cook during a trek independently, you won’t need much. The most important thing is to make sure you have enough gas for the entire stay. Here is the list of equipment that I use for treks lasting longer than a week, it’s a part of my basic trekking essentials:
- Burner: there are hundreds of burner models on the market. You can find them at any hiking equipment store. I used different models and only one caught my attention, the MSR WindBurner. This model provides excellent wind protection, which significantly reduces gas consumption.
- Cooking utensils: Personally I don’t use a plate, the pot is enough for me to cook and eat. But if you can take with you a foldable silicone plate, a spoon, a knife and a mug (same in foldable silicone to save volume).
- Gas and several lighters: Personally I count 2 450g bottles / 12 days, even if you can get by perfectly with less than that, especially in the summer. If you need to melt ice to get water, then 2 bottles is the minimum!
To light the burner, don’t forget to equip yourself with several lighters. - A water bottle: In cold regions, avoid metal bottles and other cold materials. Soft water bottles are not practical to fill in small streams.
As for the volume, it depends on the availability of water on your route. For example, in Iceland, I use a single 800ml bottle, while in Scandinavia I need two one liter bottles.
Other accessories and emergency equipment
- Waterproof bags: for clothing, sleeping bags and certain accessories and consumables (such as toilet paper), you can adapt the size of your waterproof bags to what you store in them.
- A towel: choose small and thin microfiber type towels, easier to transport and quick to dry.
- A first aid kit: basic equipment to disinfect a wound, make a compress or bondage, an anti-inflammatory and painkiller, patches and a needle to manage blisters and tweezers to remove splinters.
- Hiking poles: no, it’s not a luxury equipment! You’d be amazed how different your walking feels with hiking poles. This equipment considerably reduces the risk of injuries (especially to the ankle) and transfers up to 25% of the effort from the legs to the arms. I can only advise you to adopt them, even if you are 25 years old and in great shape!
- A toiletry bag: a toothbrush and toothpaste, a roll of toilet paper, a small piece of soap, vaseline if you are prone to irritation to the nose and face and sunscreen.
- A headlamp: an accessory that should not be neglected, you may have emergency situations to deal with at night.
- An external battery: to recharge your smartphone and/or your camera
- A portable solar panel: today there are very efficient foldable models like the Bigblue 28W, you can use it to recharge your external battery.
- Paper and a pen: a priori, you don’t necessarily need them, but the reasons for needing to write are numerous: a meeting, a note to leave on the tent, a note to leave to a person who has lost an item…
- Repair kits: for your tent and for the inflatable mattress, don’t neglect the latter, you could have unpleasant surprises!
- A map: it’s up to you to choose between a paper map or an offline map on your smartphone. But if you opt for the latter, then make sure you always have something to charge your phone.
- Cash: in case of an emergency situation, or the possibility of buying a beer in a remote corner in the mountains, a little cash can be useful 😉
Basic trekking essentials : Conclusion
Doing an independent trek requires a certain discipline. Making lists is essential, whether for equipment or food, nothing should be left to chance. The adventure begins once your backpack is ready, not before!
Finally, as a hiking guide in Iceland, do not hesitate to write to me if you have any doubts about your project, or to comment on this post to tell us about your independent experiences. We are always happy to read other people’s experiences and stories! 🙂